 |
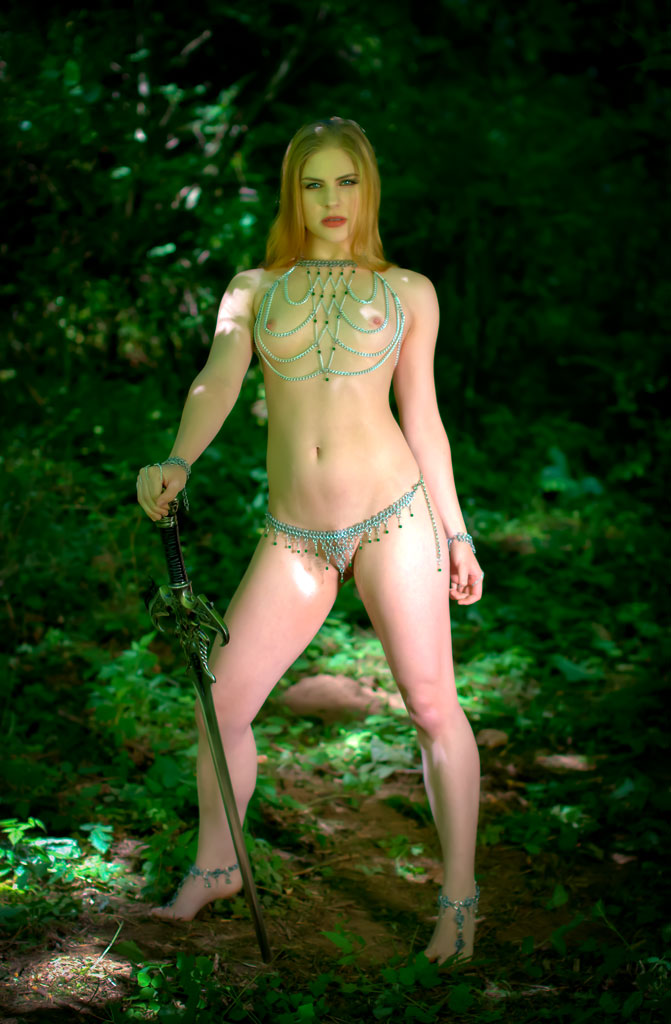
| Sentry |
This past summer I did a number of experiments with High Dynamic Range (HDR) images. This grew out project I had done for work that required some high dynamic range images taken of some on the unique architecture of my company's facilities. The results were interesting, and were used in some company presentations, and one image was ultimately released to and published in the Wall Street Journal, though only credited to the company and not to me personally as the photographer. The images did get me to think about how I could use the process in my own personal projects, so I decided to attempt it using some of my lovely models and experimental subjects. Of course, the shoots weren't shot entirely in HDR, especially since I wasn't sure the process was going to meet my needs or expectations, so I set up one specific camera and lens combination for HDR and alternated between that camera and a couple of others during the shoot.
Specifically, for those of you unfamiliar with the process, for an HDR image you take 3 or more exposures of the same subject bracketing the exposure above and below the suggested exposure settings and then merge the three images in Photoshop or some other program to expand the total dynamic range in the resultant image. In my case, I set the camera to bracket one stop above and one stop below the recommended the exposure.
 |
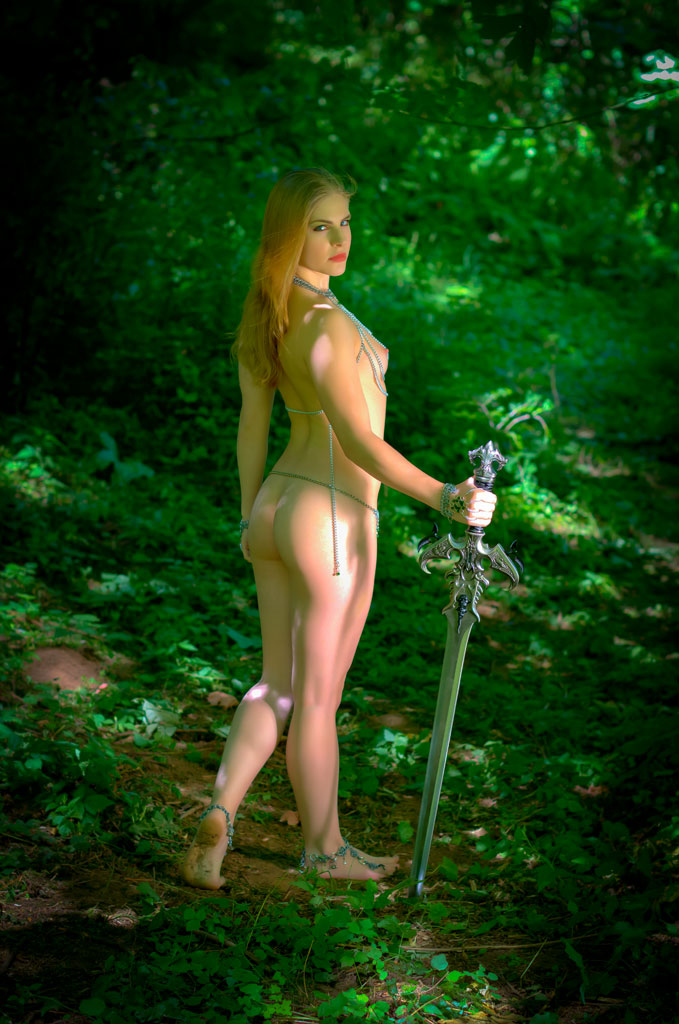
| Warrior of Light |
The other key to HDR is to minimize the movement of the camera (and subject) between the bracketed exposures to minimize ghosting and other artifacts after merging the three images. Ideally, you'd use a tripod and a remote release to do this, but I wanted to try it while hand-holding the camera. So, I set the camera to aperture priority (to keep the depth of field constant for each exposure), set the bracketing as required, then set the camera's drive to high speed mode. I also used an ISO setting high enough to give me shutter speeds sufficient quick for hand-holding at the focal length of my chosen lens, in this case a 50mm focal length.
Of course, nothing worked perfectly and even the slightest bit of wind created artifacting in the background of the final images. I did determine that blowing out the highlights was quite easy to do, and that a simple HDR merger couldn't provide quite the dynamic range and look that I wanted, so I had to resort to tone mapping of the final image. That wasn't quite what I wanted either, so I brought the tone mapped image back into Lightroom and Photoshop to adjust more of the image parameters and for the final pixel level adjustments of the final image (cloning, skin retouching, and burning/dodging). I think as a photographic technique it's certainly useful, and it does help to create some interesting images. I think I'd like to try using a tripod during my attempt at HDR with a live subject to further minimize the camera shake so that any resulting ghosting is only the result of minute changes caused by the wind or the model's movement.
 |
| Guarding the Path of Light |


No comments:
Post a Comment